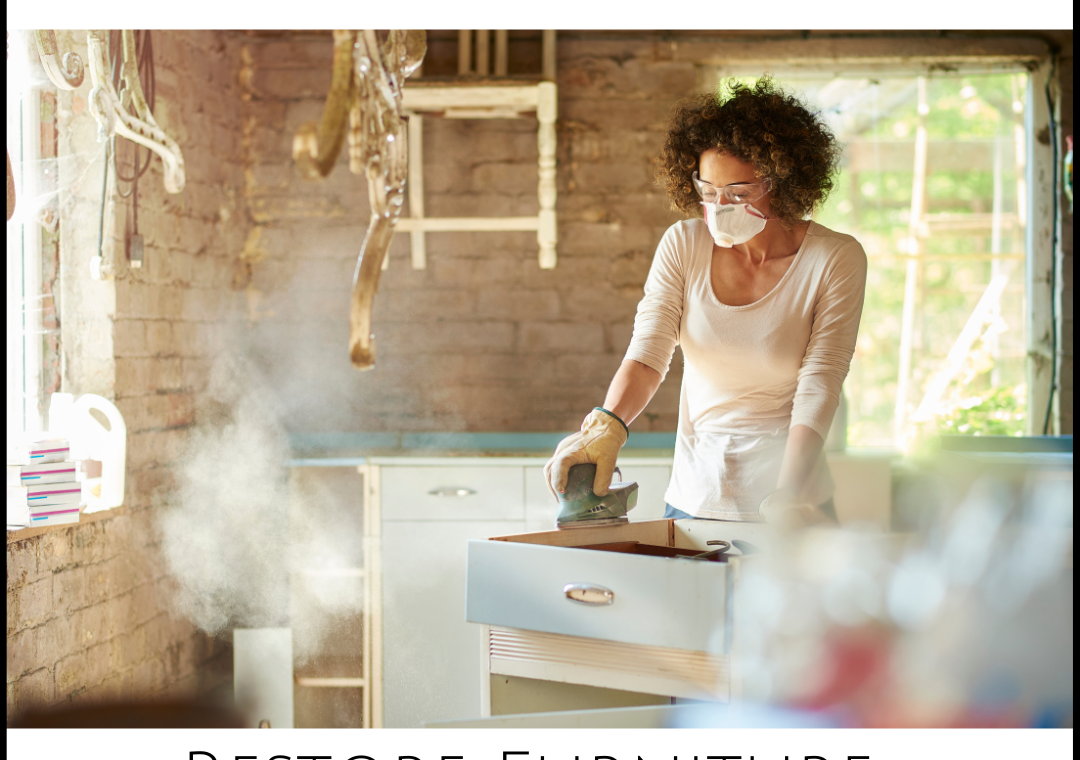
Restore Furniture Step-By-Step
Below are step-by-step instructions to restore furniture that is damaged or outdated. While many aspects appear straightforward, each piece is unique. The process of restoring furniture requires time and dedication. While it is a commitment, the results are very rewarding.
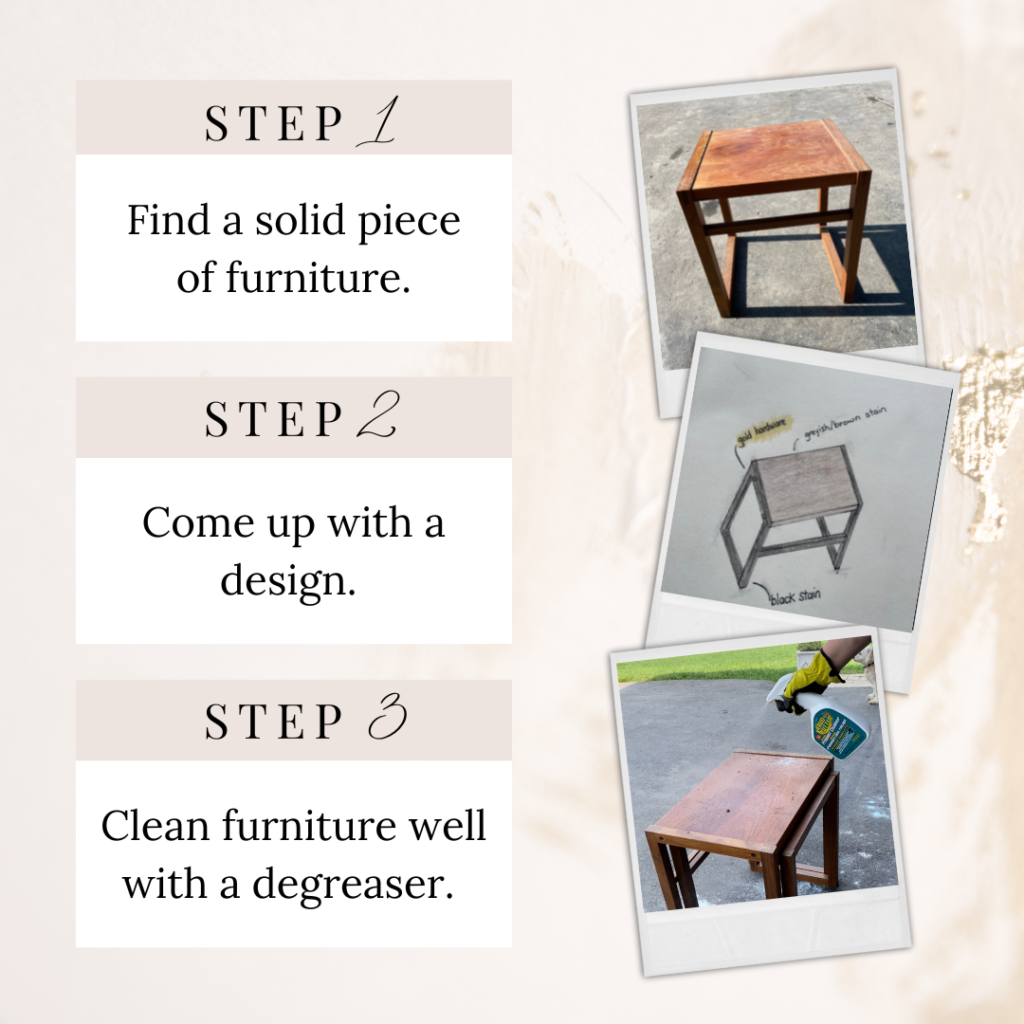
𝗦𝘁𝗲𝗽 𝟭: 𝗙𝗶𝗻𝗱 𝗮 𝘀𝗼𝗹𝗶𝗱 𝗽𝗶𝗲𝗰𝗲 𝗼𝗳 𝗳𝘂𝗿𝗻𝗶𝘁𝘂𝗿𝗲.
Once your family and friends know you are looking for unwanted furniture to restore, a whole bunch will be donated your way! Facebook marketplace is our next go-to. After surfing for furniture, you will begin to see what fair prices are for solid pieces. Also, always negotiate! You will be surprised at how flexible sellers are. The last way we have found great pieces of furniture is at garage sales and just sitting on the curb! Never underestimate the power of just driving around to have a look.
𝗦𝘁𝗲𝗽 𝟮: 𝗖𝗼𝗺𝗲 𝘂𝗽 𝘄𝗶𝘁𝗵 𝗮 𝗱𝗲𝘀𝗶𝗴𝗻.
Take your time with this step. Think about where you will put the piece in your home and design it to fit in. Gather ideas and inspiration from others. Most importantly have fun being creative! This is what makes doing the work fun.
𝗦𝘁𝗲𝗽 𝟯: 𝗖𝗹𝗲𝗮𝗻 𝗳𝘂𝗿𝗻𝗶𝘁𝘂𝗿𝗲 𝘄𝗲𝗹𝗹 𝘄𝗶𝘁𝗵 𝗮 𝗱𝗲𝗴𝗿𝗲𝗮𝘀𝗲𝗿.
Before you begin make sure you take your time wiping down all surfaces well with a degreaser. Every local hardware store or box store carries its own brands. This is an important step because you don’t want old spills or stains to seep through your new paint or stain.
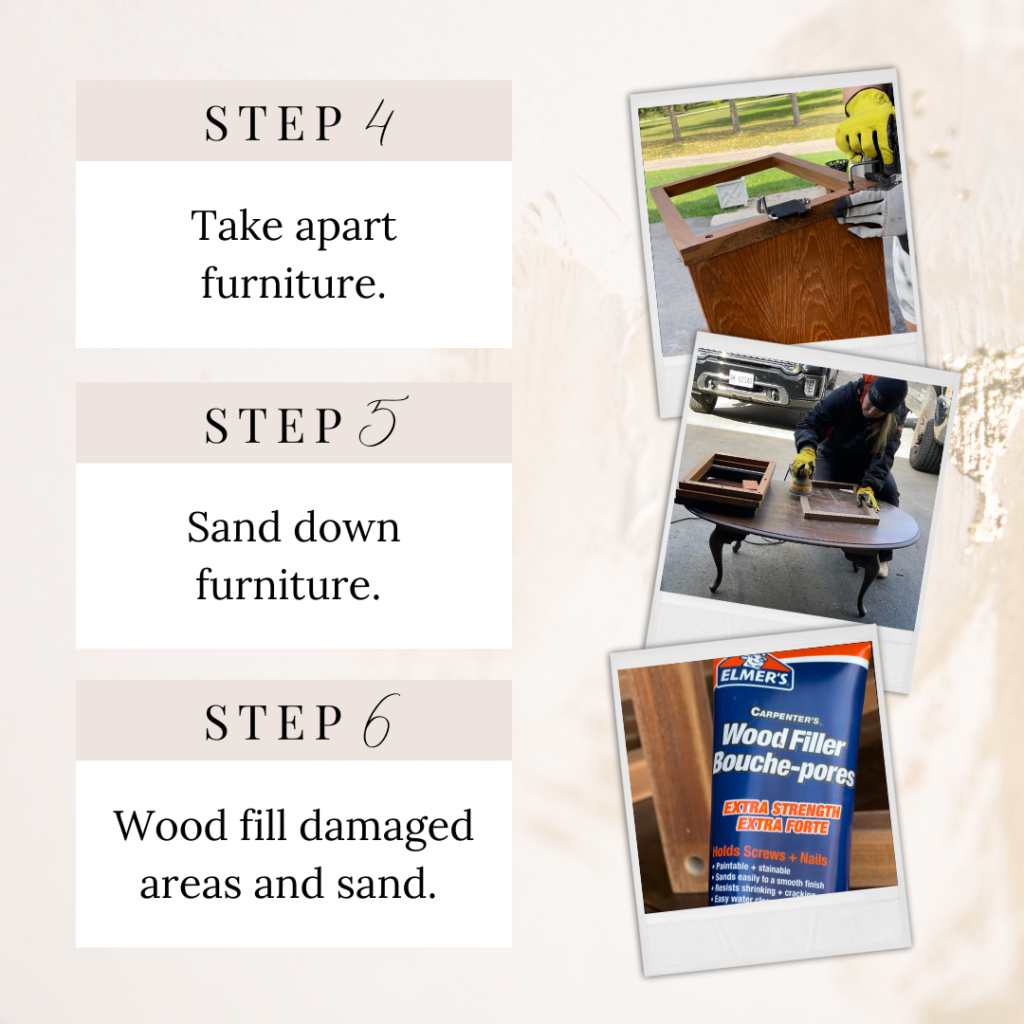
𝗦𝘁𝗲𝗽 𝟰: 𝗧𝗮𝗸𝗲 𝗮𝗽𝗮𝗿𝘁 𝗳𝘂𝗿𝗻𝗶𝘁𝘂𝗿𝗲.
Depending on the piece this could include removing handles, taking out drawers, removing legs, or any other removable part. This makes it easier to restore the piece to perfection.
𝗦𝘁𝗲𝗽 𝟱: 𝗦𝗮𝗻𝗱 𝗱𝗼𝘄𝗻 𝗳𝘂𝗿𝗻𝗶𝘁𝘂𝗿𝗲.
This step varies depending on your vision for the piece. Using a palm sander is the quickest and easiest way to sand. You can use a mouse sander for the edges. Start with an 80-grit sanding disc on real wood furniture. On veneered surfaces start with 120-grit. Work your way up to 220-grit for the smoothest finish. If you are staining the piece you will want to make sure you get right down to the natural wood. Prepping to paint furniture is a little different. You will only need to sand to remove impurities and create a good grip for the new paint.
𝗦𝘁𝗲𝗽 𝟲: 𝗪𝗼𝗼𝗱 𝗳𝗶𝗹𝗹 𝗱𝗮𝗺𝗮𝗴𝗲𝗱 𝗮𝗿𝗲𝗮𝘀 𝗮𝗻𝗱 𝘀𝗮𝗻𝗱.
We like to complete this step after we sand to get a clear visual of areas that need to be repaired. Using wood filler and a putty knife, fill the damaged areas. Once it drys, use a sanding sponge to perfect it. Reapply and resend as required.
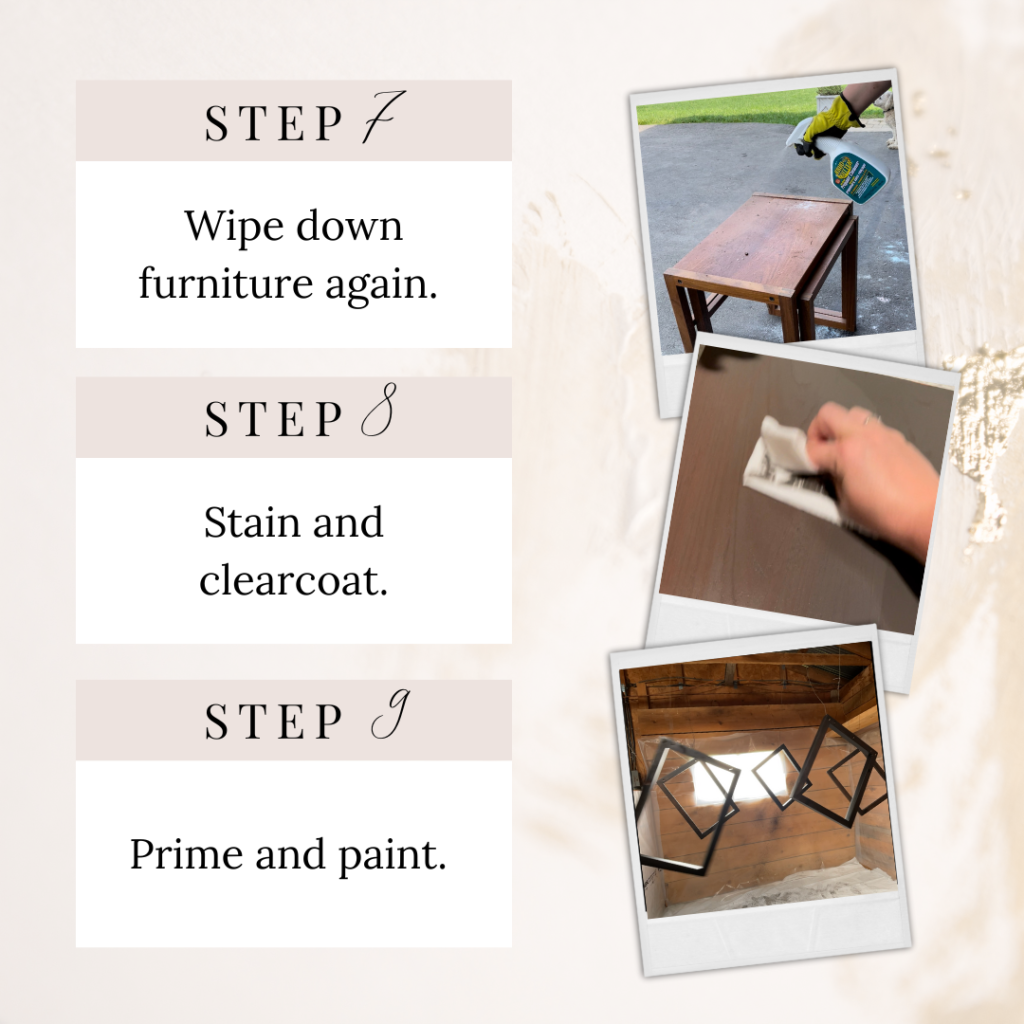
𝗦𝘁𝗲𝗽 𝟳: 𝗪𝗶𝗽𝗲 𝗱𝗼𝘄𝗻 𝗳𝘂𝗿𝗻𝗶𝘁𝘂𝗿𝗲 𝗮𝗴𝗮𝗶𝗻.
Using a microfibre cloth and cleaner, wipe down all sanded furniture. You want the surface clear of any dust from sanding so your stain or paint goes on flawlessly.
𝗦𝘁𝗲𝗽 𝟴: 𝗦𝘁𝗮𝗶𝗻 𝗮𝗻𝗱 𝗰𝗹𝗲𝗮𝗿 𝗰𝗼𝗮𝘁.
Apply the stain with a brush and use a rag to wipe off excess material. Apply more coats between dry times for a darker finish. Apply a clear top coat with a brush to ensure your new stained top stays beautiful for years.
𝗦𝘁𝗲𝗽 𝟵: 𝗣𝗿𝗶𝗺𝗲 𝗮𝗻𝗱 𝗽𝗮𝗶𝗻𝘁.
Decide whether your piece would benefit from using a primer. A primer helps create a base for your paint to adhere to, as well as helps the paint look even. Choose to apply primer and paint with a brush, a roller, or a spray gun. All methods work well however using a spray gun would be deemed the most flawless method if done correctly. Text a sample area first to make sure the product and application are what you are expecting. It’s easier to change a little section than realize later you don’t like the makeover and need to redo it!
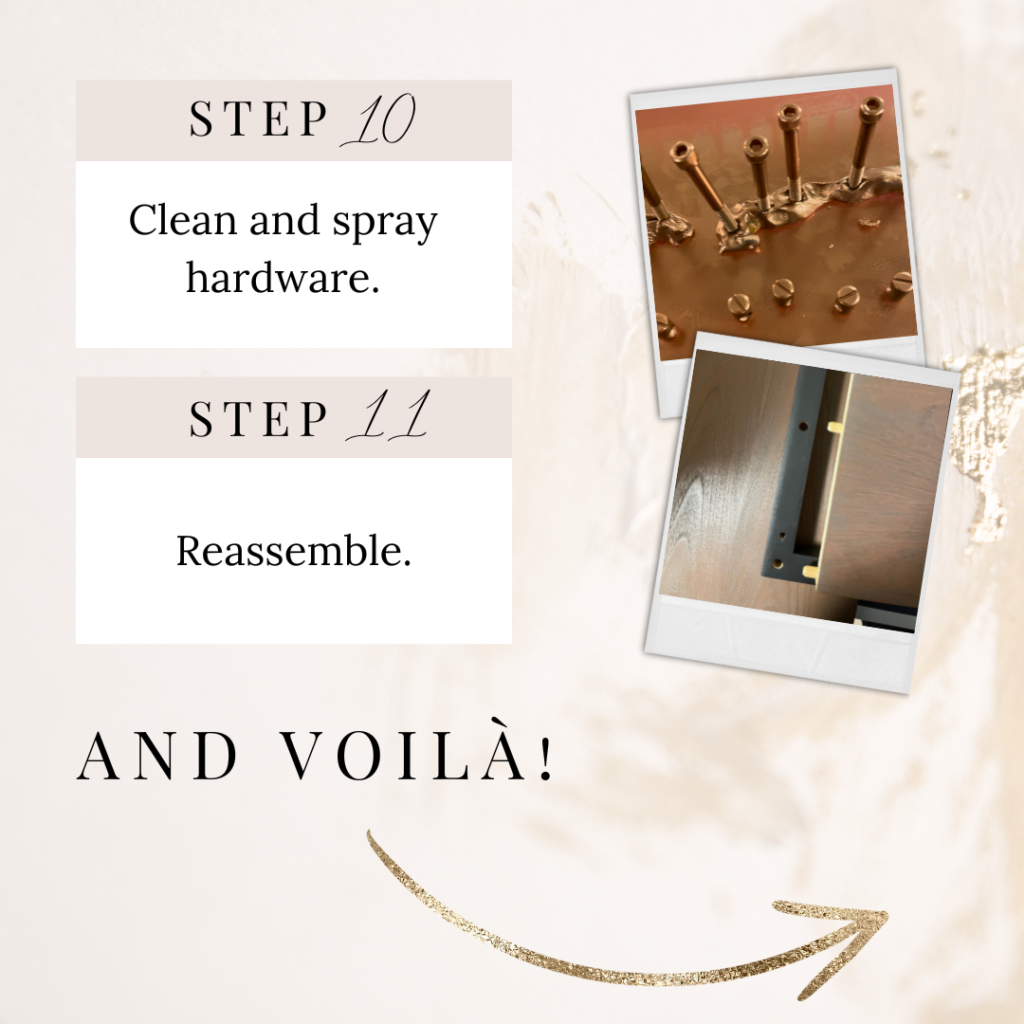
𝗦𝘁𝗲𝗽 𝟭𝟬: 𝗖𝗹𝗲𝗮𝗻 𝗮𝗻𝗱 𝘀𝗽𝗿𝗮𝘆 𝗵𝗮𝗿𝗱𝘄𝗮𝗿𝗲.
If you are using existing hardware, clean the hardware and spray using the desired colour. Usually, you will require 2 coats. Another alternative is to use new hardware, such as handles and knobs. There are a variety of great selections for handles and knobs online. Simply Google search and choose your favourites!
𝗦𝘁𝗲𝗽 𝟭𝟭: 𝗥𝗲𝗮𝘀𝘀𝗲𝗺𝗯𝗹𝗲.
The last step is to reassemble your piece! Voilà!!! Congratulations, you have a newly restored piece of furniture!
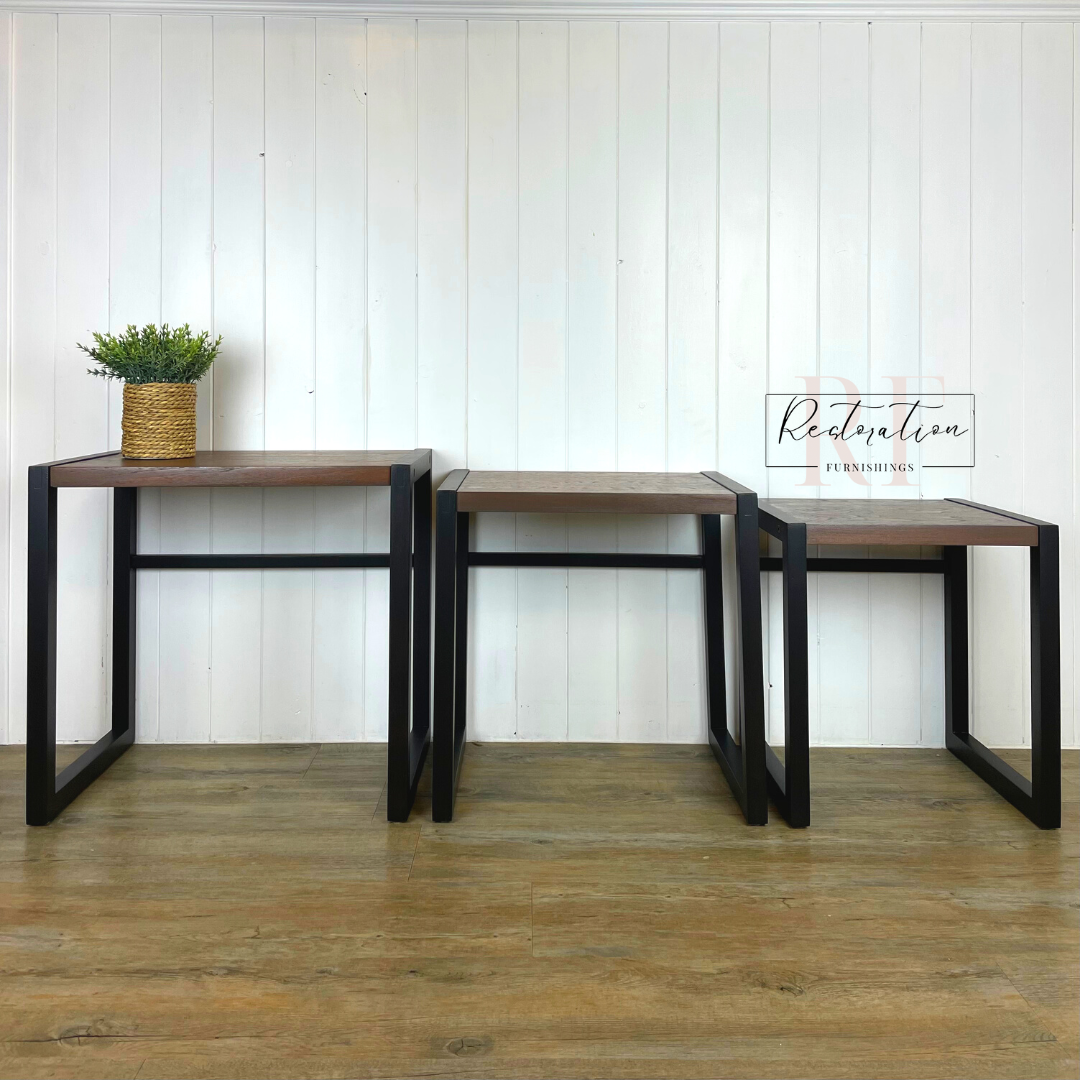
The Finished Furniture Piece
For more DIY furniture restoration, or to have your own piece custom-made, check out http://www.restorationfurnishings.ca. For everything else home or real estate, contact me today. Let me help you put down roots in our beautiful community.

